How To Change A Tire On An Electric Bike?
As an Amazon Associate I earn from qualifying purchases.
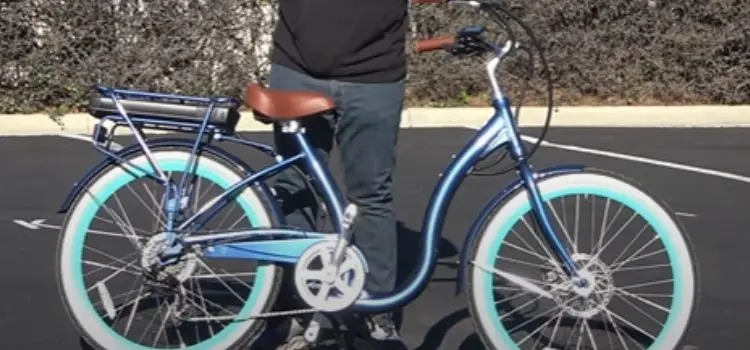
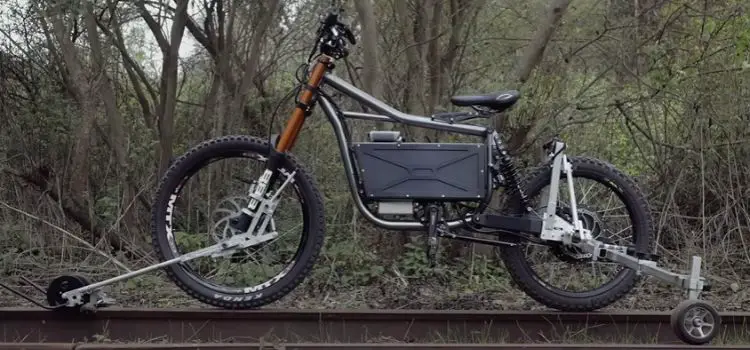
Electric bikes have revolutionized the way we commute and explore our surroundings. With the added complexity of an electric motor drive, changing a tire on an electric bike might seem like a daunting task.
However, armed with the right knowledge and a bit of confidence, you can easily master the art of changing a tire on your electric bike.
In this comprehensive guide, we’ll walk you through the step-by-step process, focusing on both front and rear tires to ensure a smooth and hassle-free experience.

What You’ll Need For Changing Tire
Ensure you have the necessary equipment and supplies ready before you begin.
- A replacement tire: Ensure it matches the size and type of the tire you’re replacing.
- Tire levers: These tools help remove the tire from the rim.
- A bike pump: to inflate the new inner tube
- A set of Allen wrenches and a wrench for loosening and tightening bolts
- A workstand or a stable surface: This will make the process more convenient.
How to Change a Front Tire on an Electric Bike
Let’s start with the front tire, which shares similarities with traditional bicycles, making the process relatively straightforward.
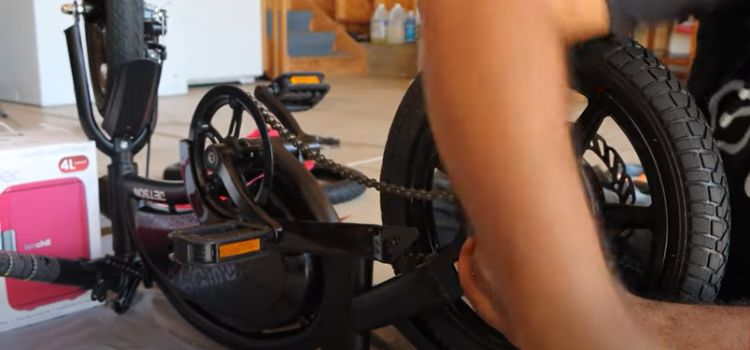
1. Turn Your Bike Upside Down: Begin by turning your electric bike upside down, resting it on the seat and handlebars. This position provides easy access to the front tire.
2. Unscrew the Axle: Locate and unscrew the lever or nuts holding the axle to the frame. This step allows you to detach the wheel from the frame without complications.
3. Gently Remove the Wheel: Carefully remove the wheel from the frame, ensuring the disk brake slides out smoothly without any bending or resistance.
4. Deflate the Tube: Completely deflate the tire tube, making it easier to work with during the next steps.
5. Loosen Tire Beads: Using your hands, squeeze the tire together all the way around the rim to loosen the tire beads from the rim.
6. Use a Tire Lever: Employ a tire lever or a similar flat object to ease under the wheel rim and lever out the edge of the tire. This step facilitates the removal of the tire from the rim.
With the front tire successfully removed, you can now address any issues with the inner tube or replace the tire if needed.
How to Change a Rear Tire on an Electric Bike
Changing the rear tire on an electric bike involves additional steps due to its connection to the electric motor drive. Follow these steps meticulously to avoid damage to the electric connections.
1. Ensure the Highest Gear: Before starting the process, shift your bike to the highest gear. This ensures that the chain is furthest away from the rear hub, preventing any interference during the tire change.
2. Position Your Bike: Place your electric bike on a stand or turn it upside down, resting it on the handlebars, seat, or battery rack. Take care not to damage the LCD console or other components on the handlebar during this step.
3. Unplug Electric Motor Cable: Using both hands, unplug both sides of the electric motor cable located under the chain guard. Don’t forget to snip the zip ties on either side of the connector to facilitate the unplugging process.
4. Remove Rubber Cap: Locate and remove the rubber cap covering the bolt that holds the wheel to the frame.
5. Unscrew Brake Assembly: On the opposite side of the hub, use an Allen key to unscrew the two bolts holding the brake assembly in place. Once removed, let the assembly hang off to the side.
6. Note Axle Position: Take note of where the axle sits in relation to the frame inset. This information is crucial for proper wheel reinstallation.
7. Unscrew Bolts Attaching Wheel: Using a wrench, unscrew the two bolts attaching the wheel to the hub. Pay close attention to the placement of washers, as they need to be reinstalled in the same manner.
8. Gently Lift the Tire Out: With the bolts removed, gently lift the tire out of the hub while simultaneously pulling back the chain to unhook it from the chainring.
9. Reinstallation Tips: When reinstalling the tire, ensure the tail of the washer is seated in the frame inset. This step guarantees proper alignment and functionality.
Conclusion
Changing a tire on an electric bike might seem like a challenging task, especially when dealing with the rear tire connected to the motor drive. However, armed with the knowledge provided in this guide, you can tackle the process confidently and ensure your electric bike stays in top condition.
Whether it’s a routine tire replacement or preparation for specific riding conditions, mastering the art of changing a tire on your electric bike is an empowering skill every rider should possess. So, roll up your sleeves, grab your tools, and embrace the journey of becoming a self-sufficient electric bike enthusiast.
Related Article
Learn How To Fix Brakes On Electric Bike?
Learn How To Ride A Mid Drive Electric Bike?
Read: How to Reset Your Electric Bike Battery
Learn How To Turn On Headlight On Electric Bike?
Amazon and the Amazon logo are trademarks of Amazon.com, Inc, or its affiliates.


